Everyone’s had that moment where a fresh set of crystal nails looks absolutely stunning, and then two days later you’re fishing rhinestones out of your bedsheets. Crystals pop off in the shower, snag on jumpers, or go dull way too quickly when the application isn’t right. And the frustrating thing is that it’s almost never about how careful you are with your hands afterwards. What actually matters is the prep and technique you put in before those crystals touch the nail.
Let’s take a closer look at how to get your surface ready, which adhesives actually hold up, and where to place your crystals in nail art so they’ll still look sharp by your next fill appointment.
Start With a Clean, Dry Nail Surface
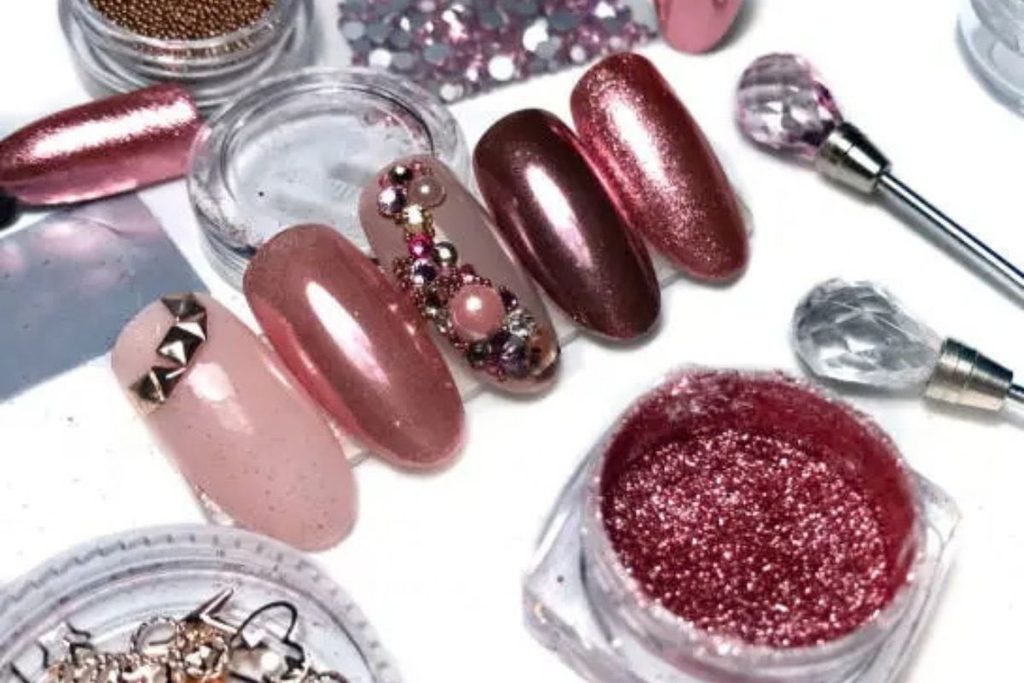
Oil is the biggest enemy here. Your skin naturally produces oils that coat the nail plate, and that thin layer will stop any adhesive from bonding properly. Grab a lint-free pad, soak it in rubbing alcohol or a proper nail dehydrator, and wipe every single nail before you do anything else. Skip that step and you’re essentially sticking crystals onto a greasy surface, which explains why they slide right off within a couple of days.
If you’re working with gel nails, make sure the tacky inhibition layer is fully cured and wiped clean first. Any uncured gel sitting underneath will weaken the bond, and your crystals won’t stand a chance.
Pick the Right Adhesive
This is where most people trip up. Regular nail glue will hold things together for a day or two, but it turns brittle fast and cracks under normal daily wear. You’ll get much better results from a gel-based adhesive or a thick-viscosity nail glue, both of which flex slightly with the nail instead of snapping apart.
Dab a small dot of adhesive exactly where the crystal will go. You really don’t need much at all. Too much glue will ooze around the edges and leave a cloudy residue that kills the sparkle, so keep it tiny and controlled.
Why Crystal Quality Matters
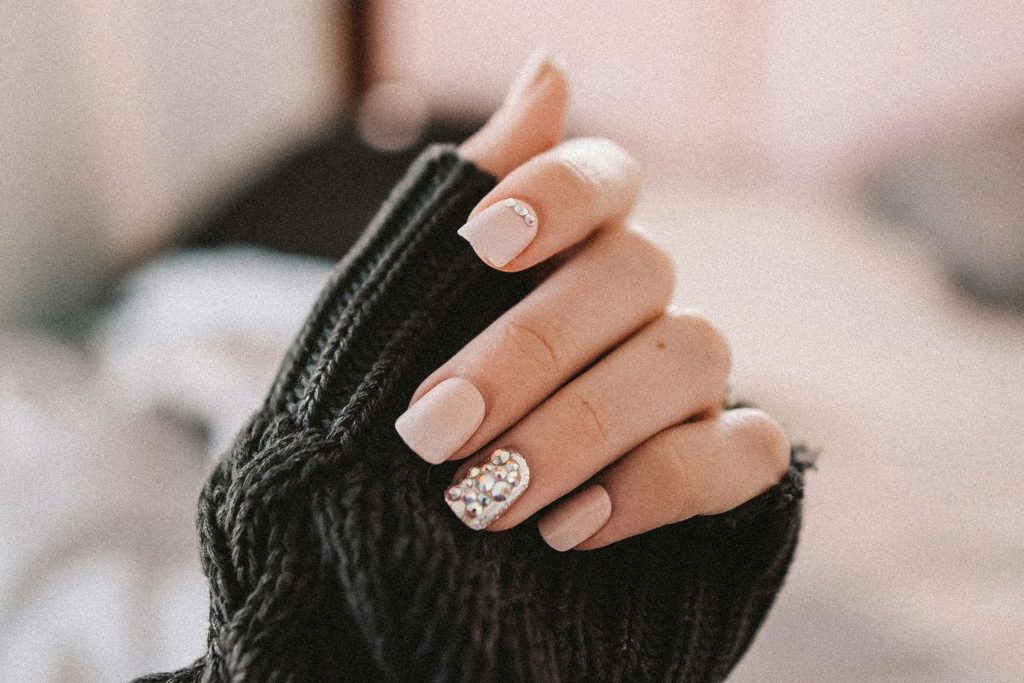
Cheap, unbranded rhinestones tend to have patchy foiling on the back, which means the adhesive can’t grip evenly across the surface. That inconsistency is a big reason crystals loosen up faster than they should.
On the other hand, using genuine Swarovski nail crystals will give you a much better foundation because the precision-cut base and platinum foiling create a uniform bonding surface for the glue. Over two or three weeks of wear, that difference in quality becomes obvious.
Place at the Right Angle
Pick up each crystal with a wax pencil or fine-tipped tweezers and press it completely flat against the nail. Even a slight tilt will cause it to catch on fabrics, and once it starts catching, it’ll gradually lever itself loose. Press down firmly and hold for a couple of seconds so the adhesive has time to grab.
Bigger crystals need a bit more thought about positioning. Try to place them slightly away from the free edge of the nail, because the tip takes the most impact during everyday tasks and anything sitting right at the edge is far more likely to get knocked off early.
After the Crystals Are On
Seal Without Smothering
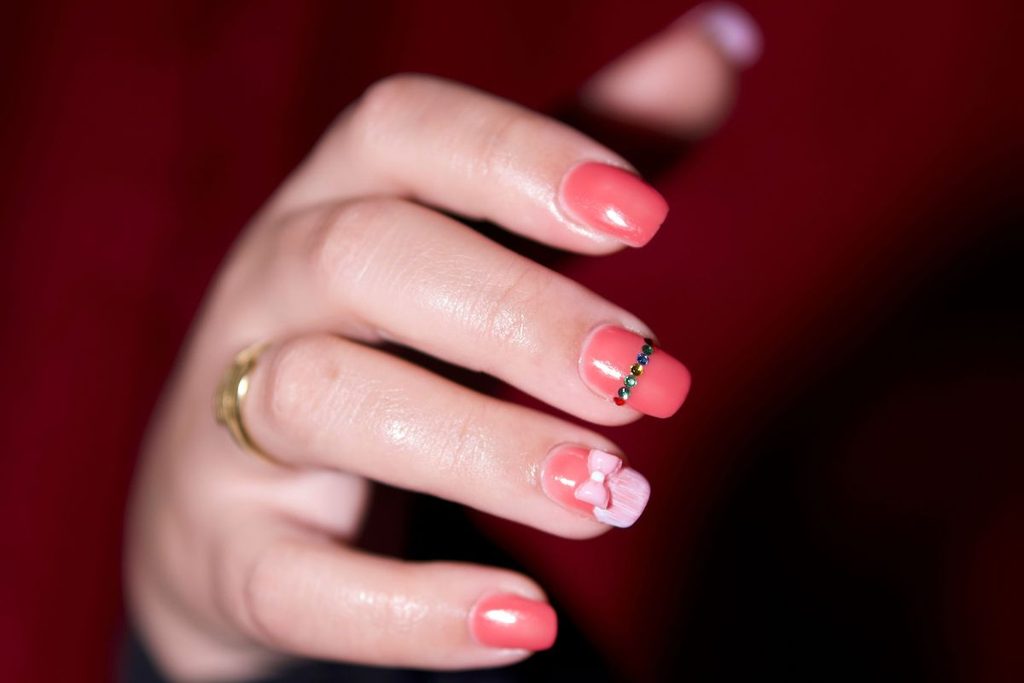
After your crystals are set, brush a clear gel top coat around the base of each one to anchor it in place. Don’t coat the top of the crystal itself, though. Painting over the faceted surface will dull the sparkle and leave a milky film that ruins the whole effect.
You want the gel to sit snugly around the edges like a little cushion, holding everything secure without covering what makes the crystals look good in the first place.
Keep Your Crystals Intact Between Appointments
Wear gloves for cleaning and washing up to protect your nail art. Don’t pick at your nails, no matter how tempting. And if a crystal starts to come loose, reattach it straight away with a tiny drop of adhesive instead of waiting for it to fall off completely. A two-minute fix on day five will save you from a patchy-looking manicure by day ten.
The Prep Is Where the Magic Happens
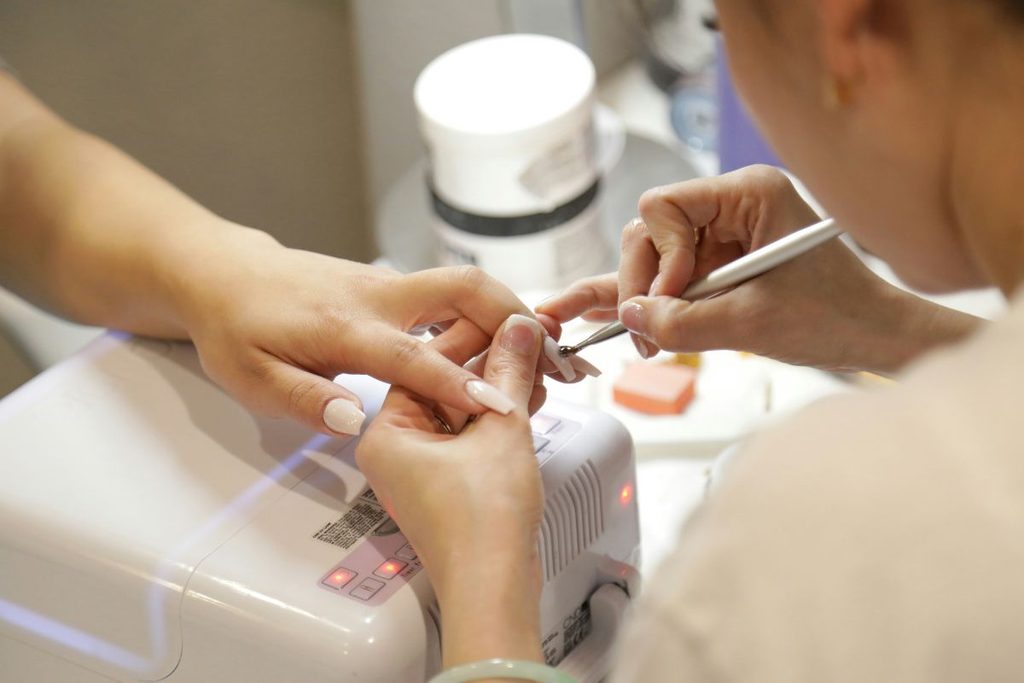
Most people blame the crystals when things go wrong, but nine times out of ten the problem started before the first stone was placed. A clean nail, the right adhesive, flat placement and a careful seal around the edges.
That’s the whole formula, and it takes about five extra minutes compared to rushing through it. Get those steps right once and you’ll stop replacing crystals every few days, which means less wasted product, fewer salon visits, and nail art that actually lasts as long as it should.
Images courtesy of freepix.com, unsplash.com and pexels.com